
The Walking Dead is an American television program which tells the story of a group of survivors as they navigate the ruins of society left in the wake of a zombie apocalypse. Since its initial broadcast in 2010, the series has received critical acclaim, garnered industry awards, and shattered viewership records. When a show that is known to include grisly, brain-shattering violence outdoes American Idol in the ratings, you kind of have to acknowledge it as something special. I'm also a fan of anything creature or horror-related in general, so it was a great honour to be invited by Hero Complex Gallery to participate in an official AMC art show featuring licensed The Walking Dead works by a ton of other amazing artists. *EDIT* This poster can now be purchased through Hero Complex Gallery.

Brainstorming & Concept
Artists in the show were given free reign over which scene or character from a previous season they'd like to illustrate. We were given access to a treasure trove of AMC-owned visual assets (not shown here due to the non-disclosure agreement we all signed) that included many behind-the-scenes photos of events shown from different angles from the last season. I began by studying all of these assets and predictably, I had a rough time singling out what scene to focus on.

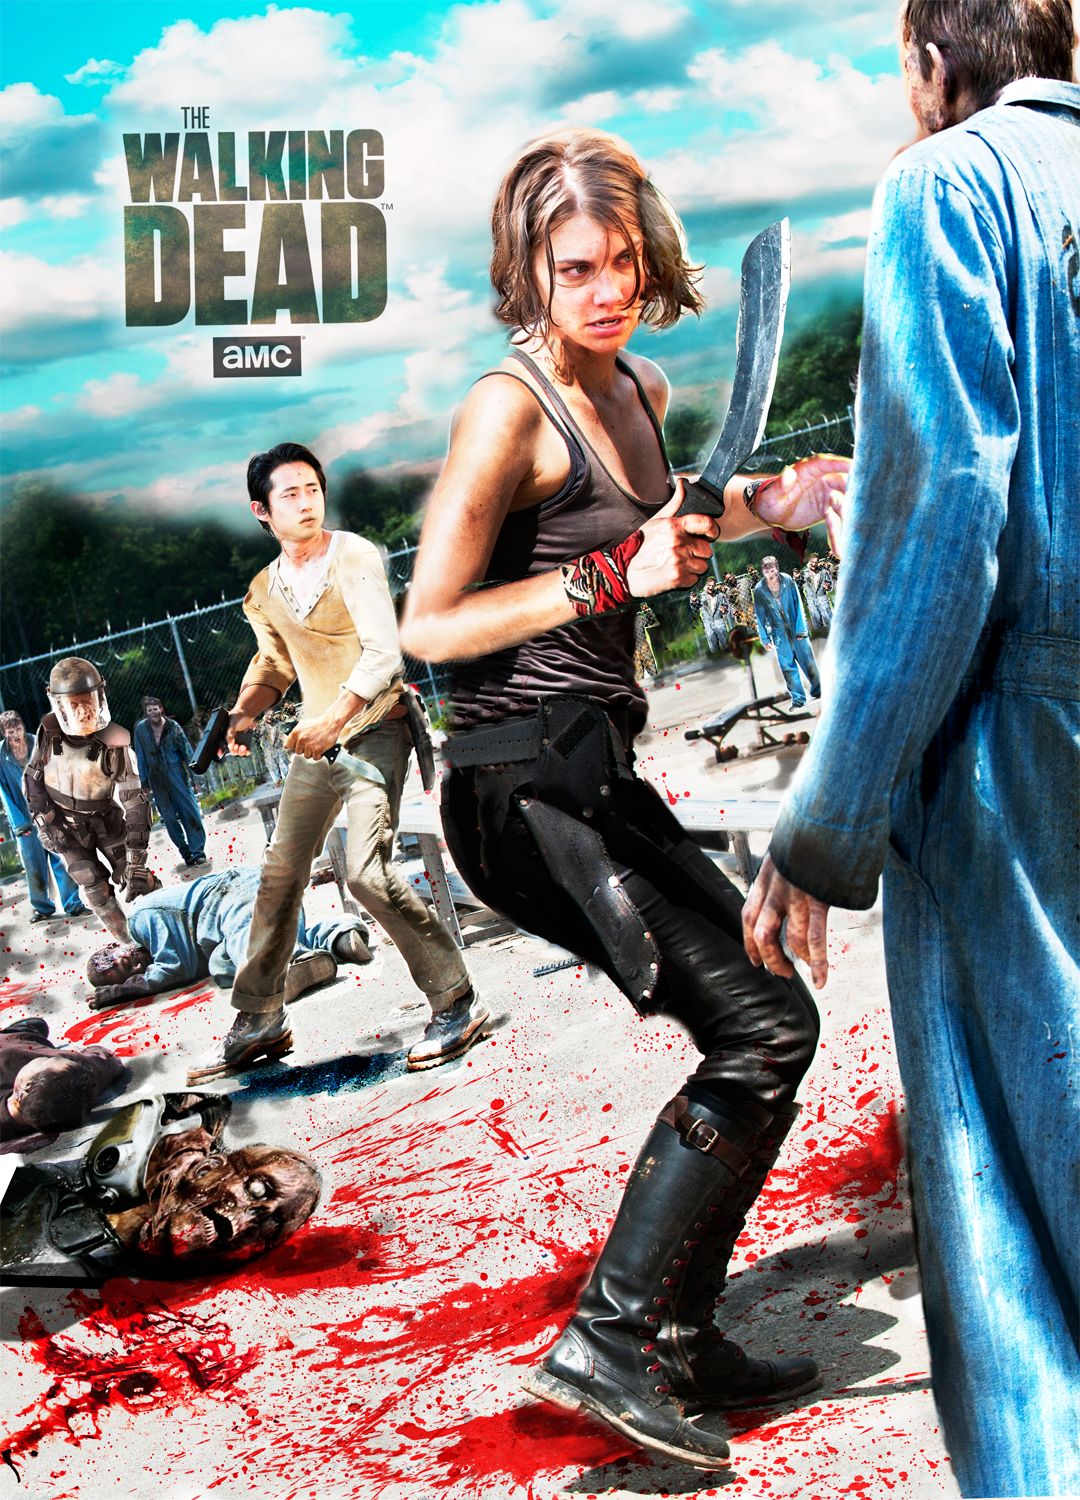
At first, I gravitated towards Merle and Michonne since they were my favourite characters during Season 3 but I later decided to focus on Maggie and Glenn when I found out other artists had already turned in sketches with nearly identical compositions. The eventually-approved sketch was drawn on two sheets of mylar in both alcohol-based Copics and dry erase and depicts Glenn and Maggie fighting walkers during the introductory prison riot. I focused on Maggie because I wanted to challenge myself to do something more female-centric than usual without defaulting to Michonne, who already has her share of representation.
Semi-Composite
Having decided on a direction, I started cutting and pasting pieces of the assets together in order to get an authentic set piece. Neither of the two main characters seen in the final rendition of the print are just tracings of assets (not to crap on those who do this; if Drew Struzan does it, it's fucking okay to do it) but rather carefully edited assemblages.

I struggled a bit to sculpt the pieces needed to formulate a key photo from which to derive my own interpretive drawing which kept to the spirit of my original sketch.

Many pieces had to be stretched and tugged at to appear even close to realistic. The final layer count of pieces and adjustments came close to 30. Special care had to also be taken to keep things such as the sight lines and lighting consistent throughout the image, so I had to mess around in Photoshop quite a bit, slapping disparate things together. Lots of masking and cloning.

It took a while because I've come to know that all the hardest work should really be done at the beginning of one's process. Not only does that air of effort set the tone for the amount of enthusiasm and oomph one puts in as a project rolls on, but it's also the time when it's easiest to make changes, be reflective, and off a lot of common problems in the womb. Basically, a castle without a good foundation might as well be made of sand, so I spent the time I felt was necessary to do The Walking Dead proper justice.
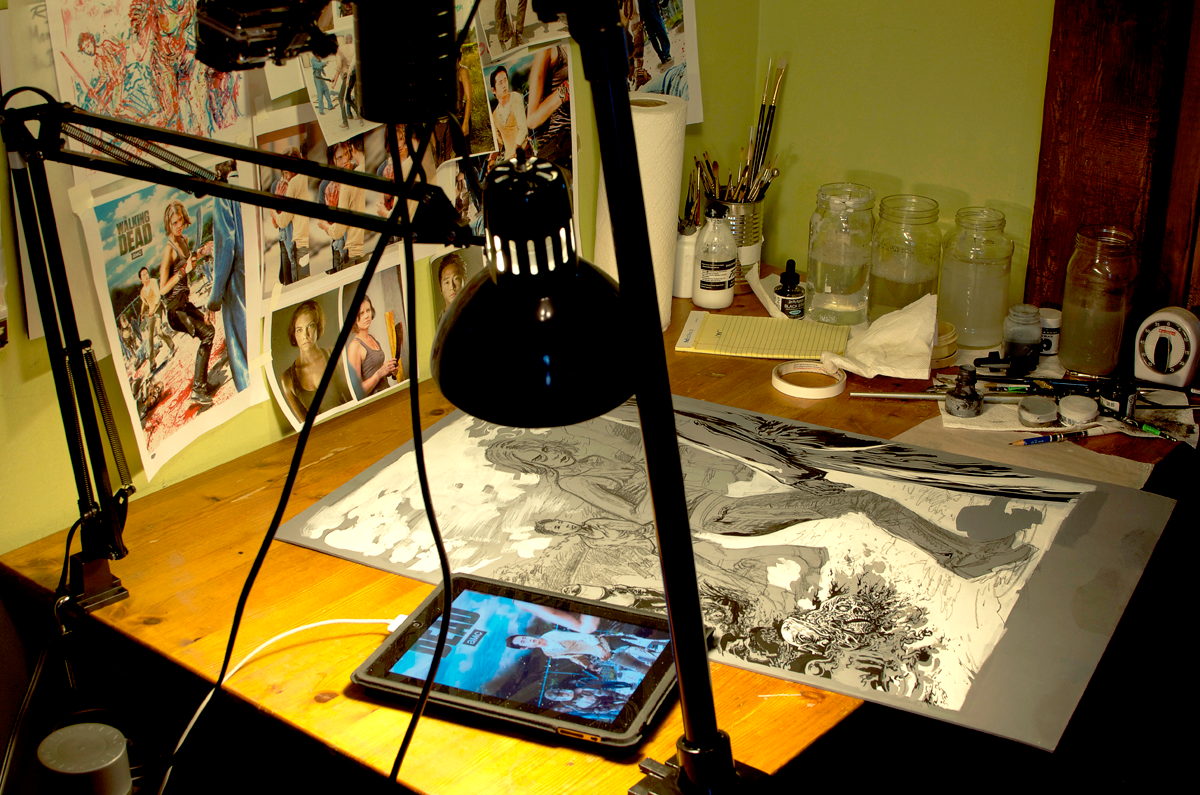
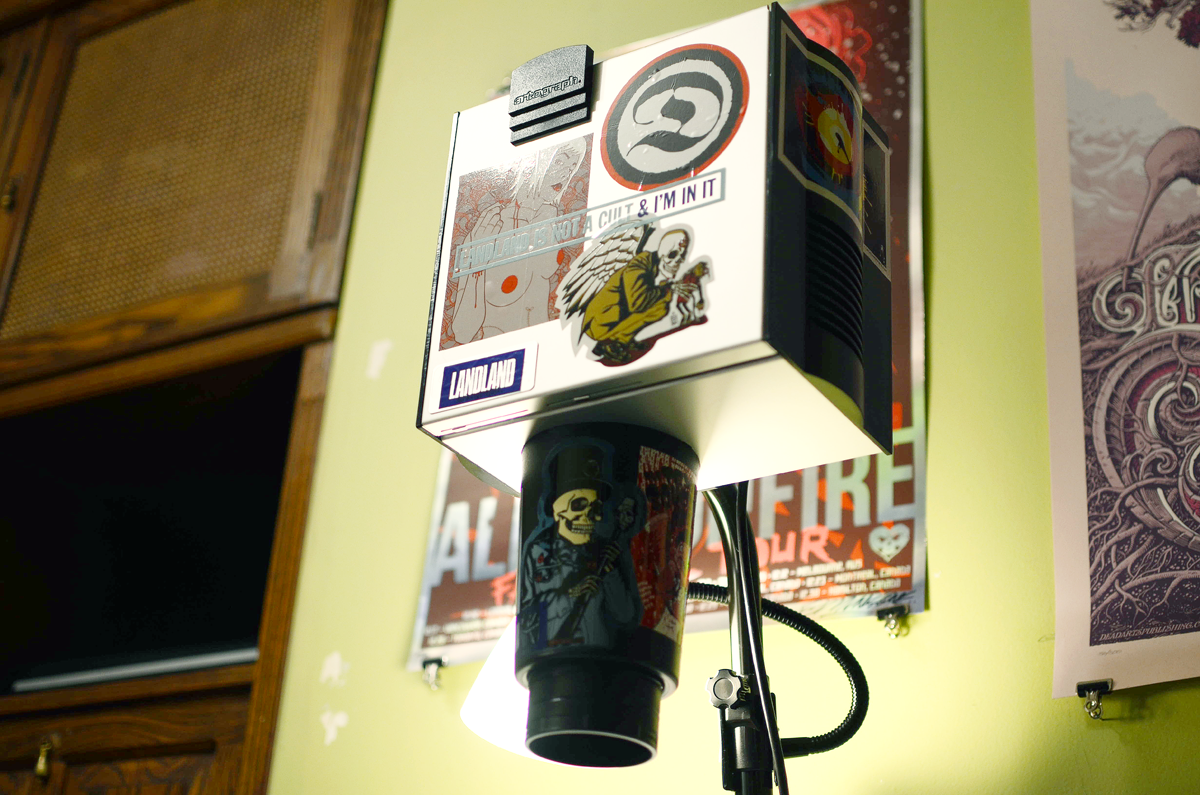
Next, I used my trusty vertical projector to get a rough transfer down on the board, which is pre-shrunk and painted with grey gesso. To pre-shrink a piece of two-ply illustration board, simply brush water evenly on the back and then flip it and immediately coat the side you'll be working on with gesso. By leaving this to dry over night, both sides dry evenly and the board flattens sublimely instead of curling a day or two in as more and more stuff gets laid down.

The mid-tone gesso ground is there because it makes erasing as easy as painting over it with more gesso, grey acrylic, or ink. None of the mess of an eraser. I'm also finding that it's easier to work from the middle of the value scale as opposed to one of the other two extremes. More flexible.
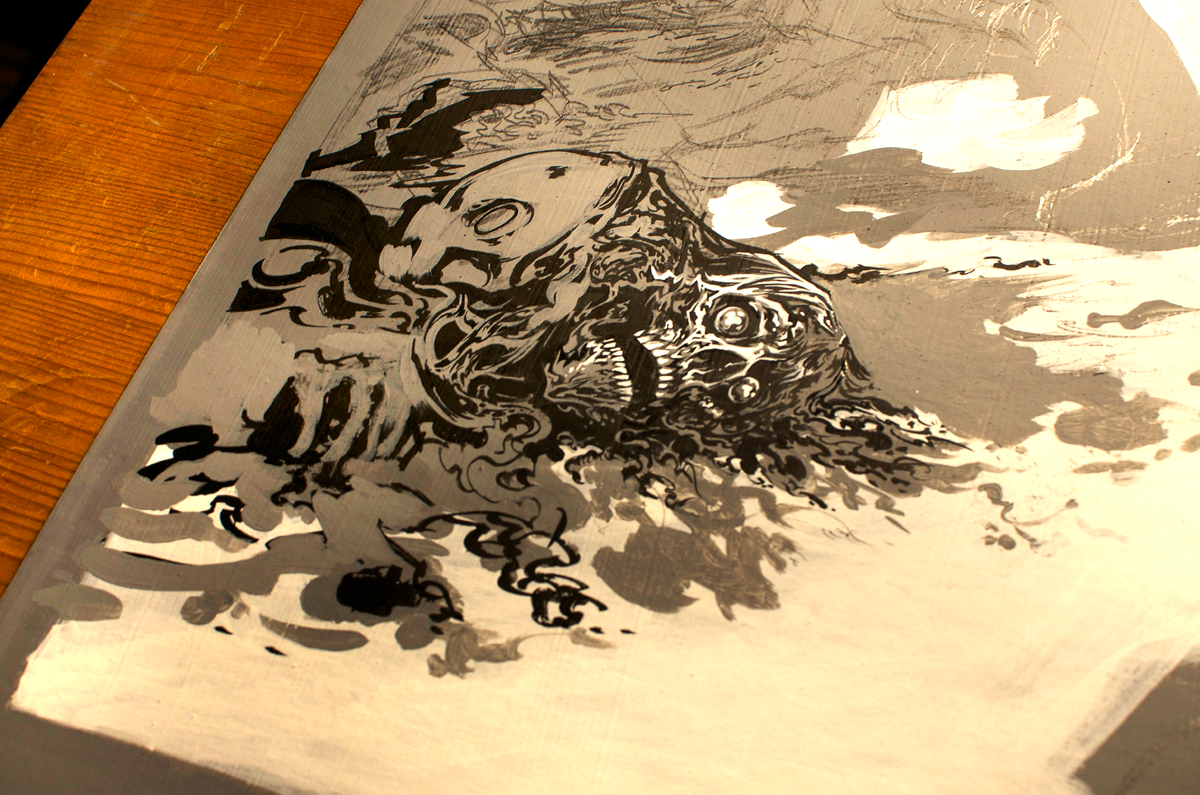
This guy is kind of a hot mess. You can sort of see how I couldn't really decide on whether to use a brush, pencil, pen, or what order. In the end I attacked the drawing in spots, developing areas in graphite before going right over them in acrylic. The messiness fits the violent subject matter, I think.
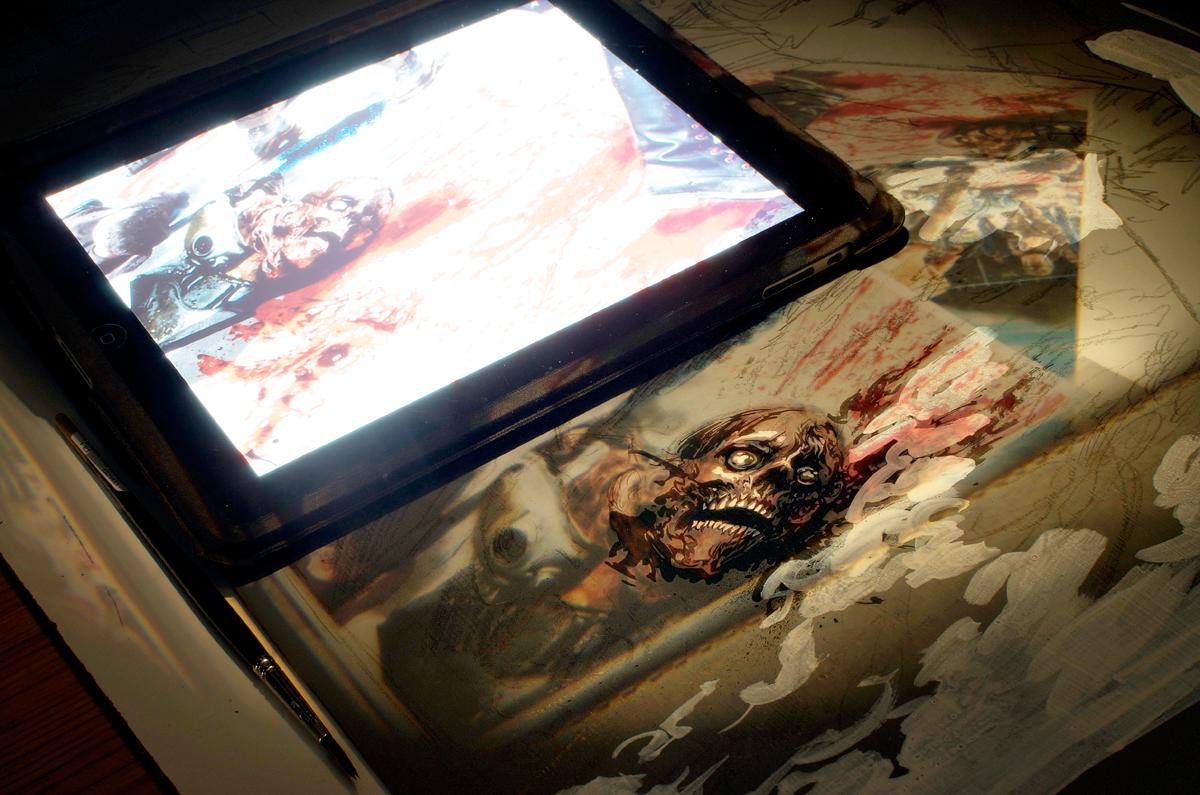
Surrounding myself with references and only the tools needed for the job. You can see bigger areas of light and dark being blocked in.
Getting closer and developing the details a little with medium-small brushes and calligraphic pen nibs. It took some tweaking getting the likenesses to where I was alright with them.
Adding more intermediate details, getting lots of different marks and movements going.

Things are starting to come together nicely. Adding more details to suggest background elements. I really can't stress how fun it is to be able to erase by painting something out.
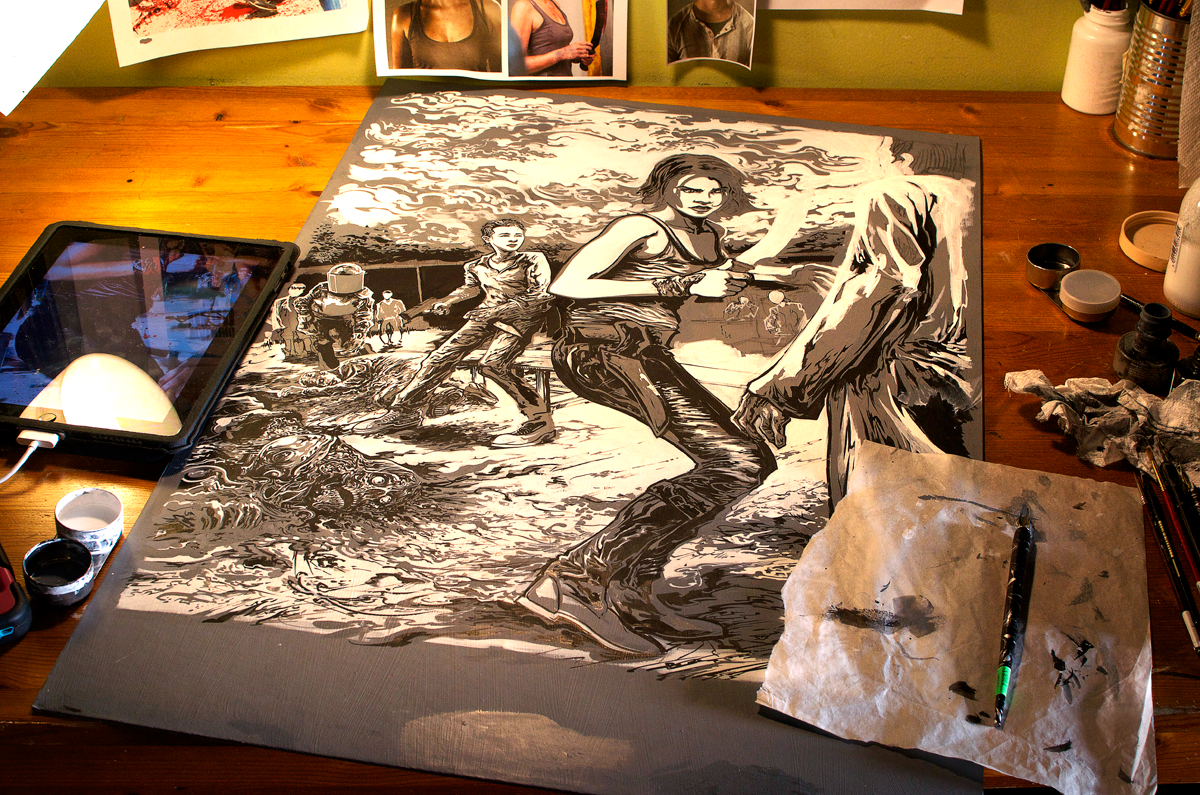
The finalized semi-composite drawing. Drawn on 20"x30" two-ply hot press Strathmore illustration board with acrylic paint, ink, and graphite.

Finalization
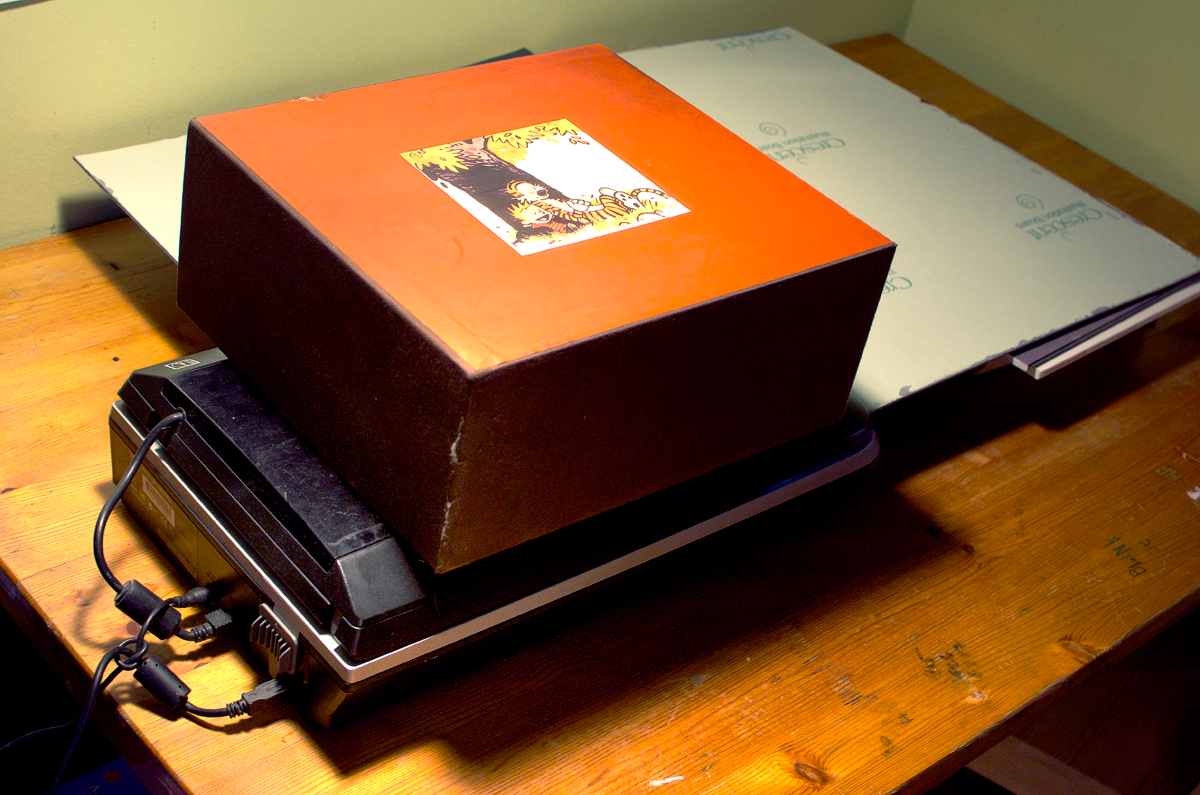
*Backstep*To nab the whole image, the piece had to be scanned in pieces. I find the Calvin & Hobbes Anthology functions nicely as a scanner-weight.
Once the image was scanned and pieced together, I separated the light, middle, and dark tones by selecting and subtracting them from one another. Masks, various brushes, and adjustment layers were used to colour the image in piece by piece, line by line.

I think the digital version is about halfway done at this point, with lots of attention paid to the integrity of the two stars with the rest of the colours sort of roughed in speedily for feel. The two look interesting side by side.

Here's an animated rundown of the final piece layer by layer before going through half-toning.

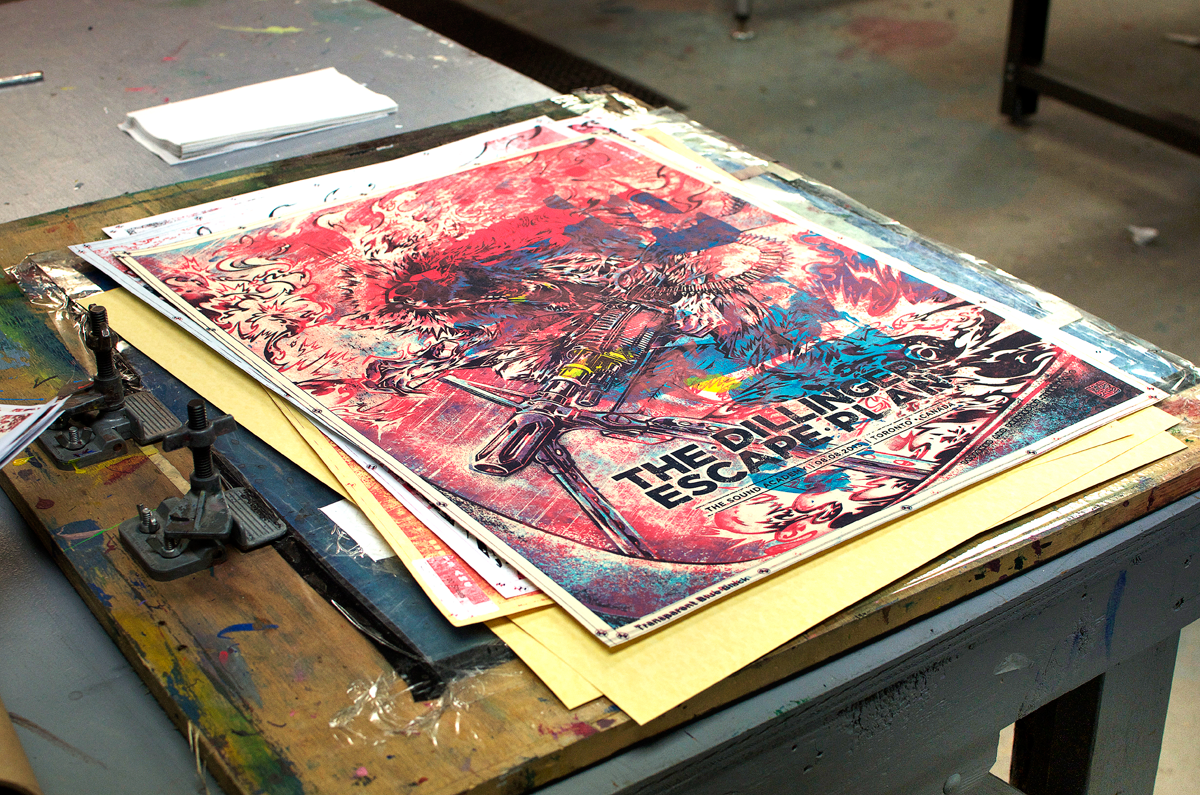
Adjusted the colours to make them easier to print. I knew I wanted to use French Parchtone to get that nice, subtle mottled texture in paper which really gets augmented when put under transparent colours. This also felt more unified and proper for the setting, considering it's a muggy summer day and they're fighting putrid, stinking corpses. Rotten greens, reds, and violets felt right.

Screen-Printing
I've a small clump of prints I've been using to test colours for the last few jobs. It has grown very colourful and angry-looking. Such things are necessary when hand-printing almost 300 5-layer posters.
You can see the table setup here. Since the arm which secures the screen to the table is actually a little loose, I had to register both the screen and the paper using square-rulers for high corners to catch the screen at the same spot each time as I've been doing with slices of bristol board for the posters.
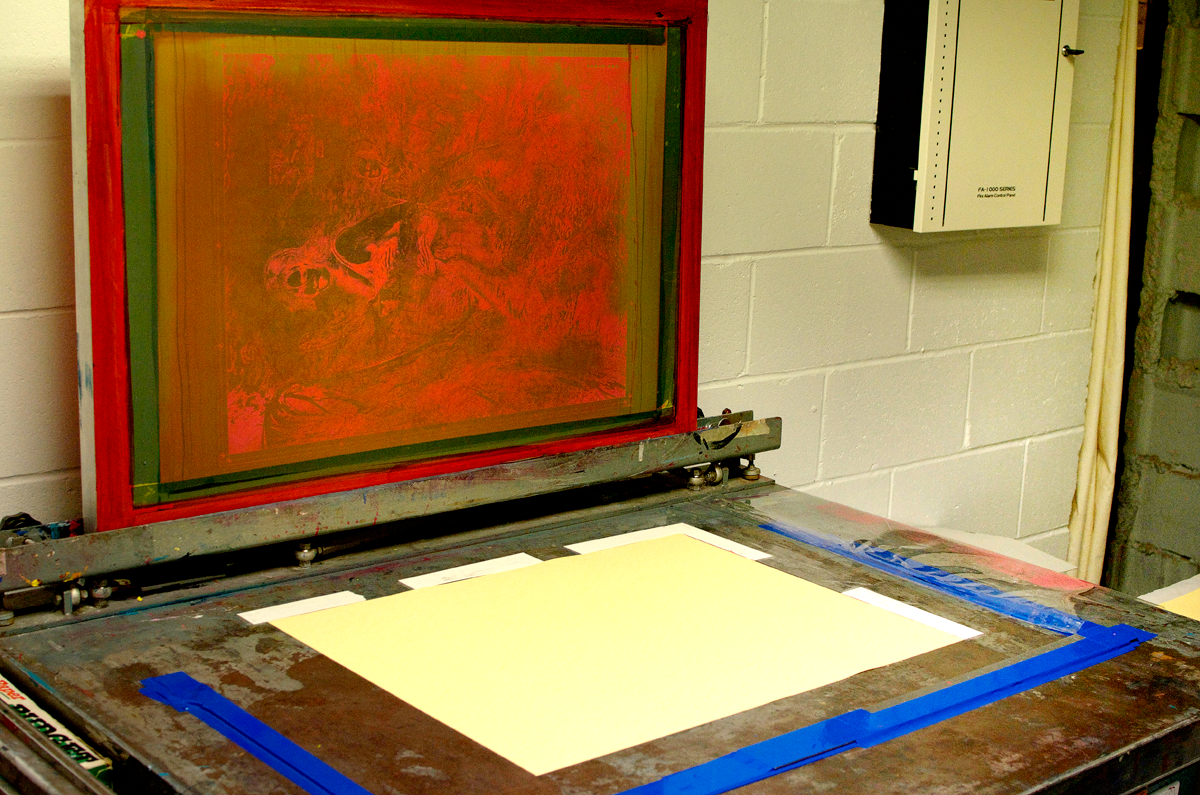
The first layer went down easily. Didn't have time to snap too many pictures or note much commentary since once you start printing, you pretty much have to keep going with it until finished that layer. Again, 300 was a lot. Took about 2-3 hours for each layer plus setup and cleanup.

The second layer I made a very transparent blue so as to get a lot of randomization from the Parchtone texture and the layers which would be enclosing it. It looks blue right now, but it turns pretty green once the white is laid down and the chroma balance for the image completely changes up.

In production, one must often come up with little time-saving techniques because when working with mass amounts of prints, small delays have an exponential effect when applied to the entire run. Since my studio moved everything around and left me with but one 100-piece drying rack (grumble grumble), I was forced to empty it twice for each colour. Therefore, I began sticking the prints out the sides so they could be snatch out easily, instead of leaving them fully inside the confines of the shelf frame, necessitating picking up each print one at a time shelf-by-shelf. By sticking the prints out the side and over the springs, I was able to scoop almost 20 in each hand.
Can barely even tell it's transparent and that that's going to come out green..

After the white is applied, you can see the chroma start to do some weird and fun things.

You can sort of see here that I "trapped," the white, making it extent by a few pixels outward into where the line art should be in order to make off-registration errors less noticeable. Necessary for large runs when everything can and probably will go wrong.

I really love how randomly the transparent red and blue wreaked total, random, beautiful havoc on the texture situation. Hot little pockets of red shoot up from within mouldy greens and bloody splatters encapsulated in cutting, undulating waves. Fun stuff.

Registering both the screen and paper ensured very tight registration for the most part. Check the marks!
You can see some of the blue hue refracted underneath. Makes the white weirdly cold against the warmth of the paper.
This confusing image is actually a sheet of mylar taped to the wall which was used to register each colour. Since the first couple of inks (cyan and red) were transparent, I didn't even bother scrubbing them off to re-use the sheet. Trippy.
Since I still didn't have carpal tunnel, I decided to added a glow-in-the-dark effect by printing it using the same screen as the white. Special effects should never carry the image but are a nice touch. Sets them apart a little bit.

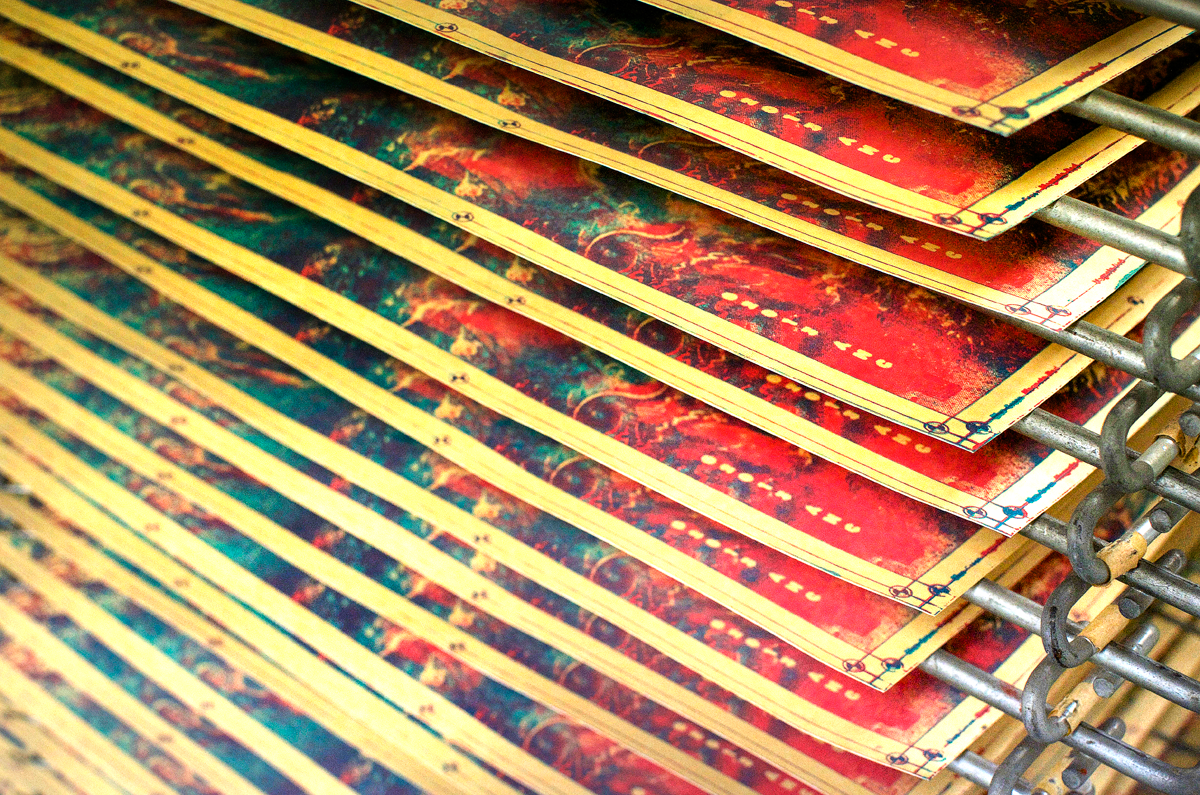
The final, untrimmed pile of prints.

I recently got my hands on an electric paper cutter, which I used to trim divided stacks of 50 or so at a time.

Details
Ended up with exactly 300 prints. The stack considerably thickened because of all the ink.

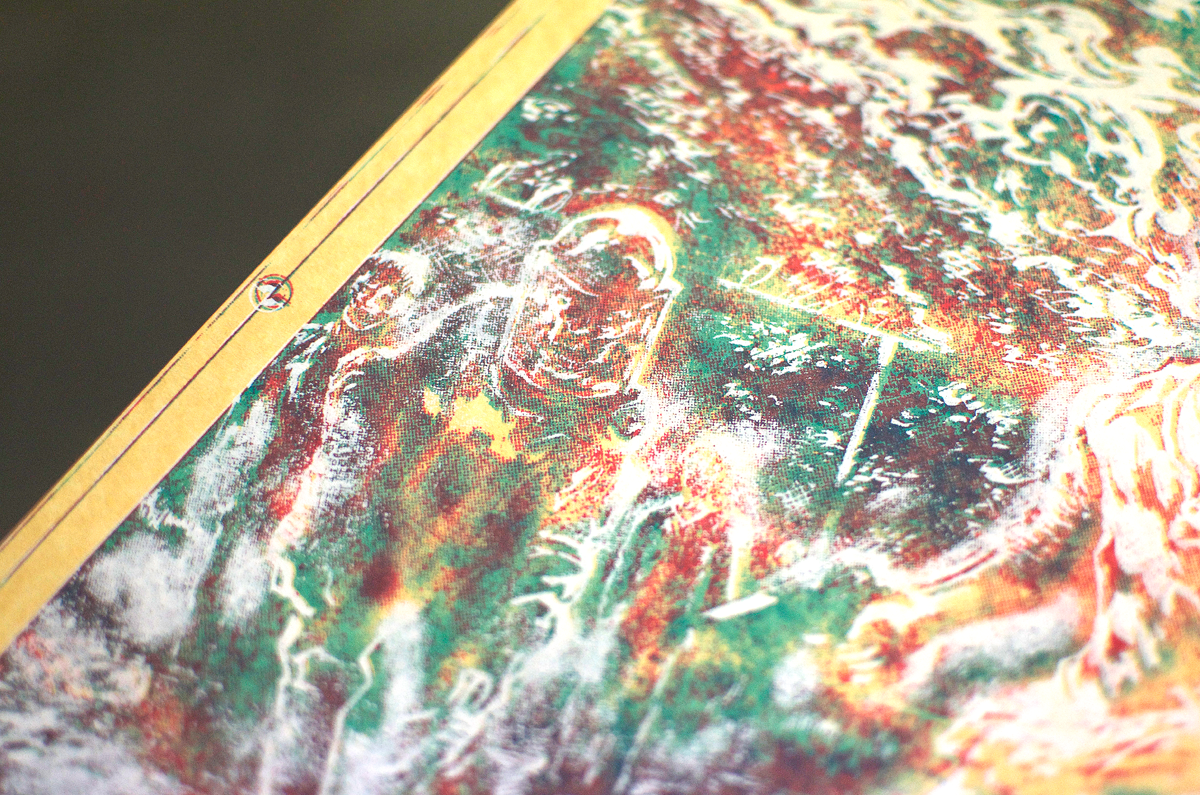
I almost always aim for full-bleeds these days just because I can. You can see some of the trimmings as well as just how random each print really is when you get really close. They were all printed to be like paintings, in that sense.

First fully-licensed screen-printed work. Glad I got to do it by hand.

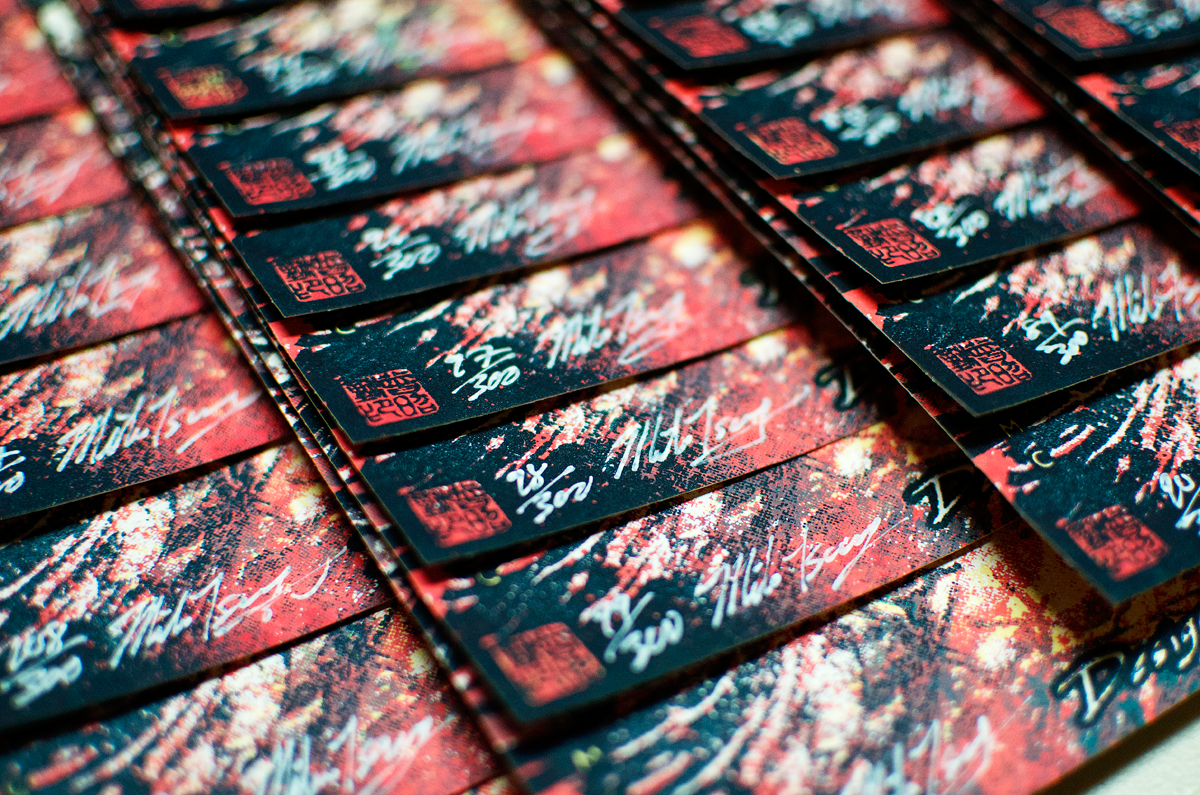
Laying the prints out to be signed and numbered. Advantage to being both the designer and printer; no logistical headaches during the final authentification process.

Signature, numbers, and name-chops.
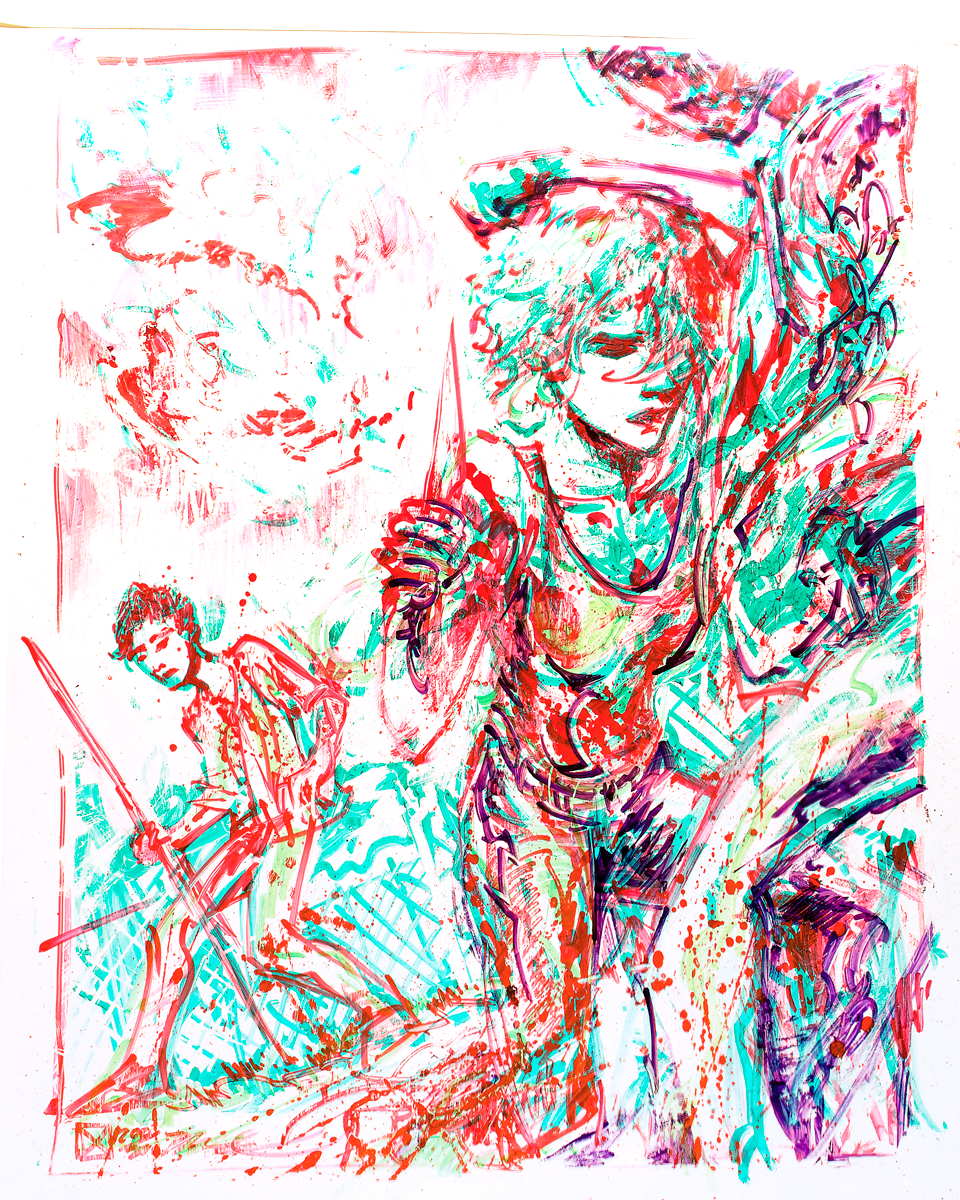
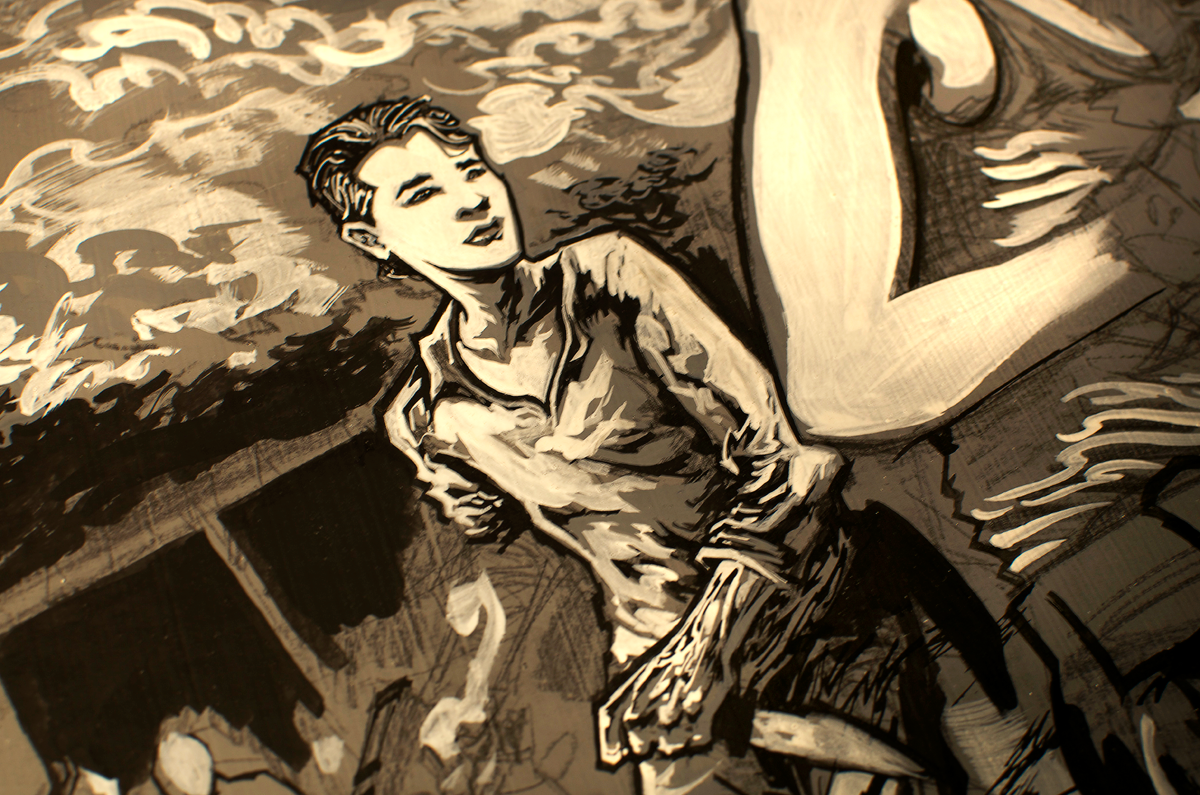
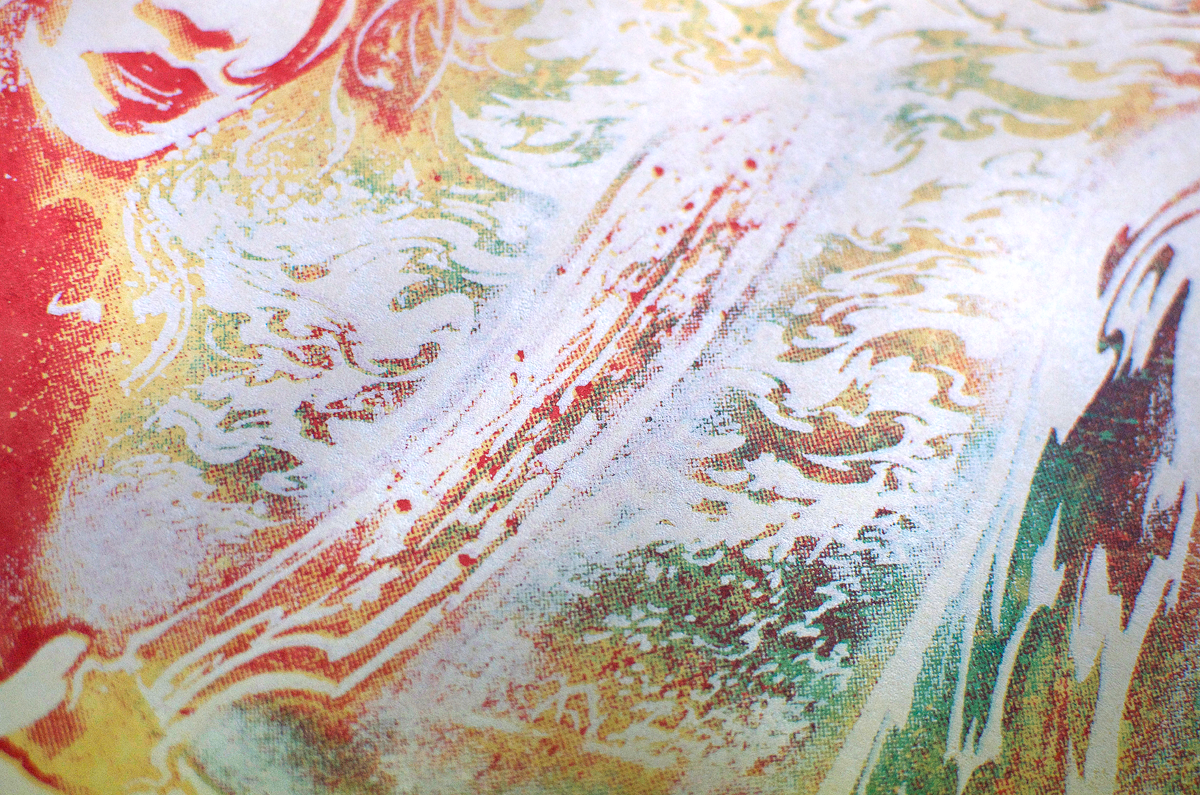
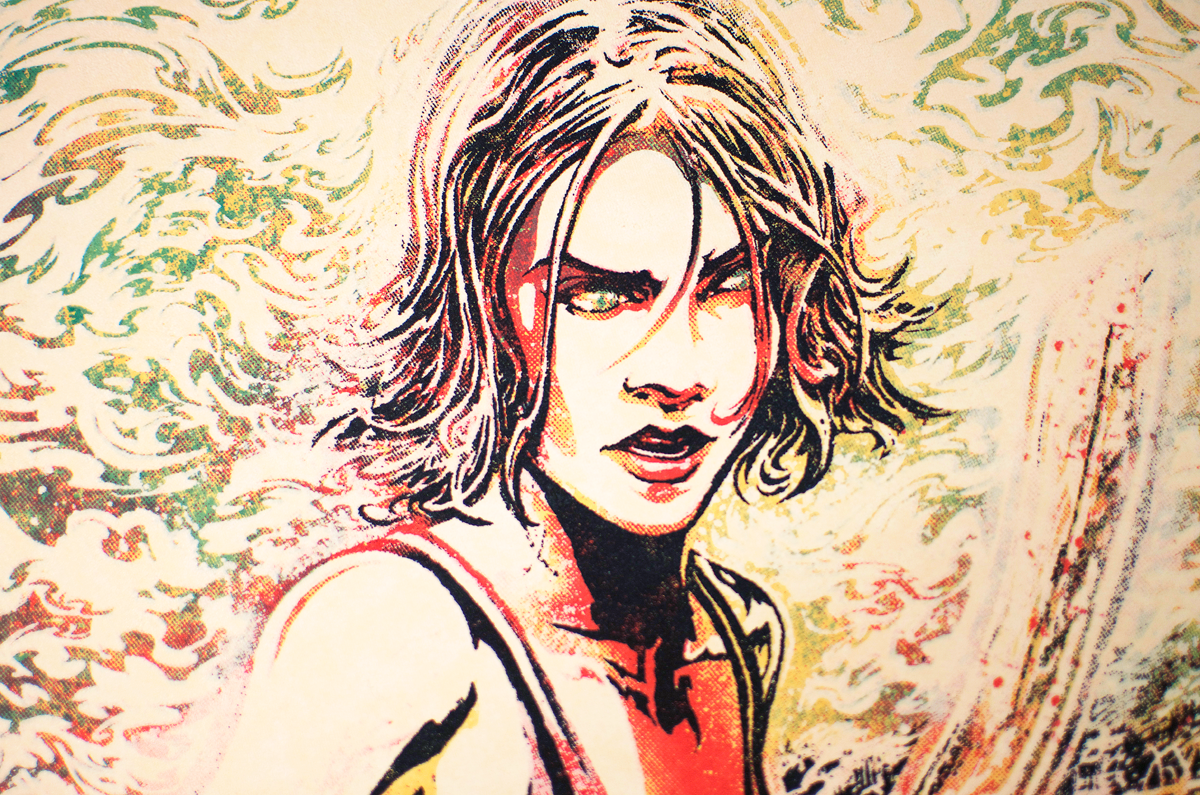
Detail of the finalized figure of Glenn. I don't care if the colours don't look naturalistic; I've always been a fan of Impressionistic colours for their emotional impact.
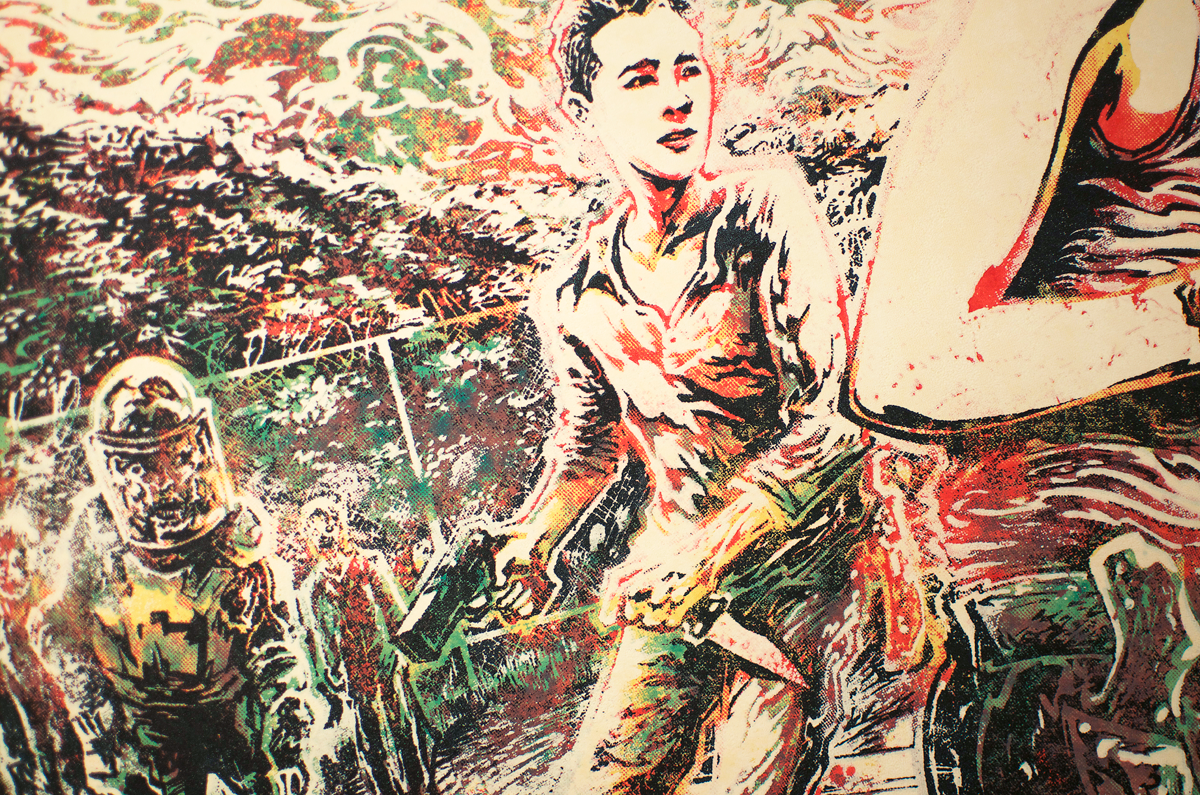
I didn't realize how very "They Live!" this was until after I finished printing. Another fun spot to focus and take in all the random details and grisly textures.

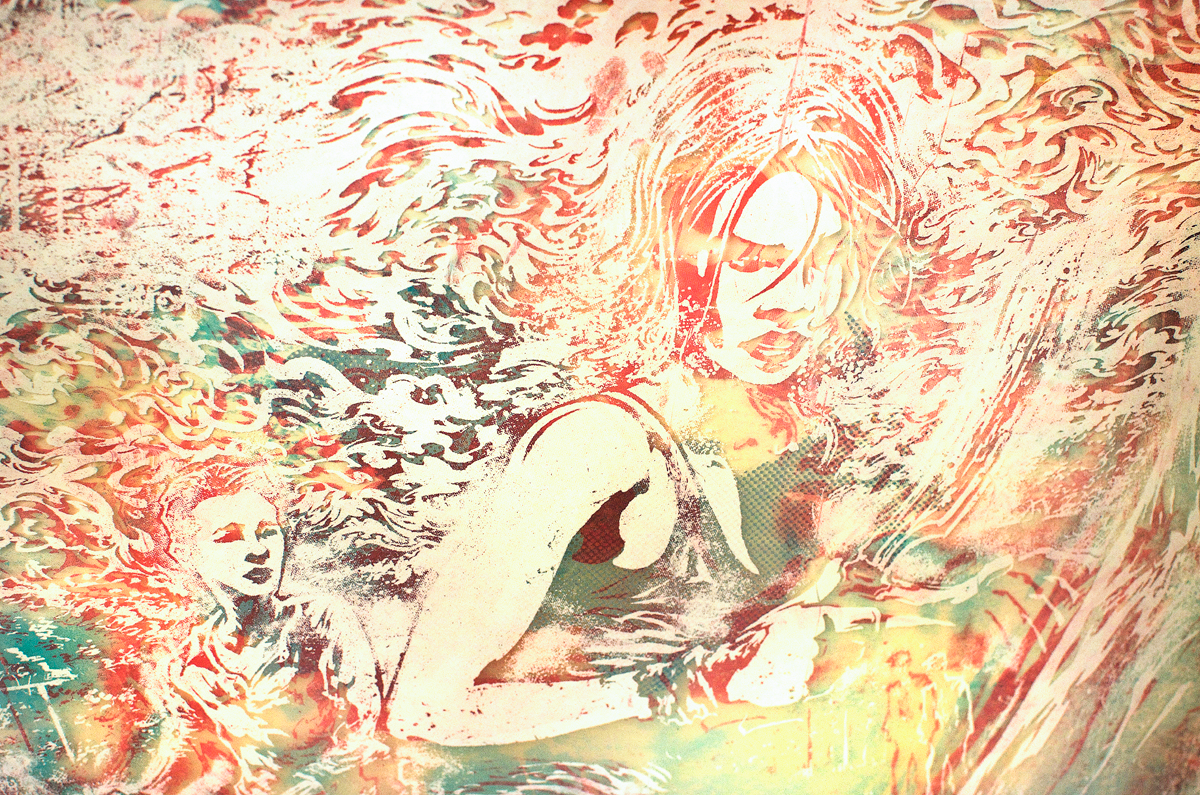
Detail of a knife-brandishing Maggie, replete with explosive splatters of overt and subtle colour interactions.
A shot of yours truly holding the print, for a sense of how this will look in front of you.

Thanks for reading! And thanks to AMC and Hero Complex Gallery for putting the show together! Prints can be purchased through Hero Complex Gallery's online store now.